Step by step guide to uploading your data return
This guide is designed to support you in the process of submitting your data return via the UPM employer portal.
 Link opens in a new window
1 LPPA will now process your file. You will receive an automated confirmation once the file has been processed by LPPA.
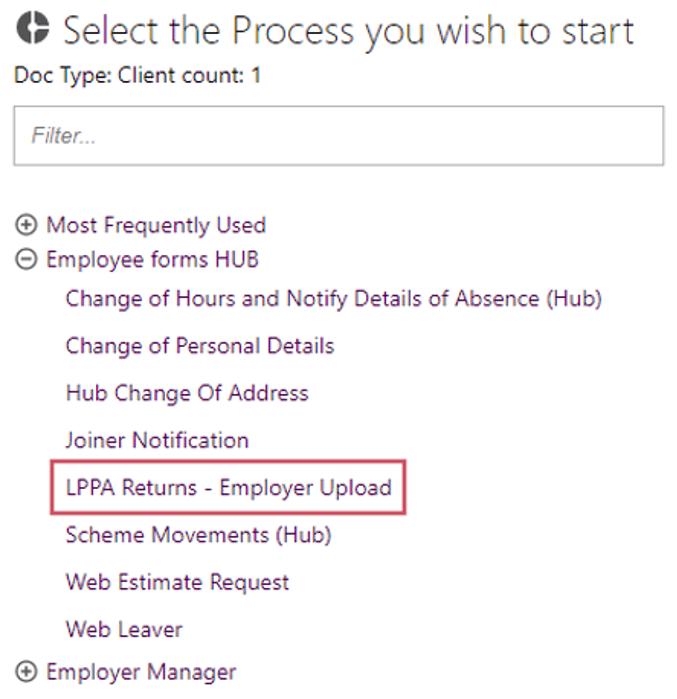
2 Expand the Employee Forms HUB section and click LPPA Returns – Employer Upload.
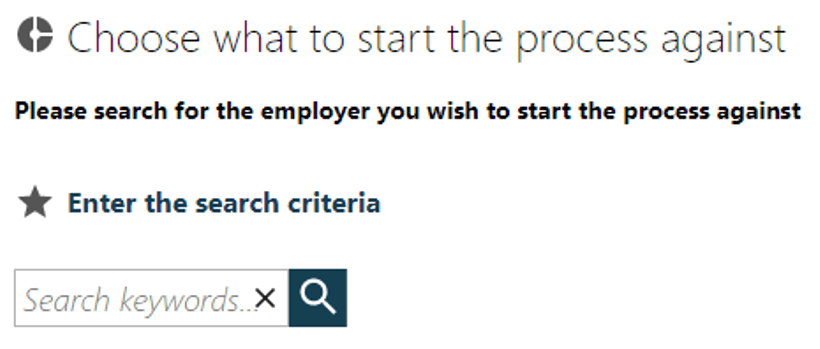
3 In the search criteria field, enter the name or code of the employer. Click the search icon, select the employer from the list and press submit.
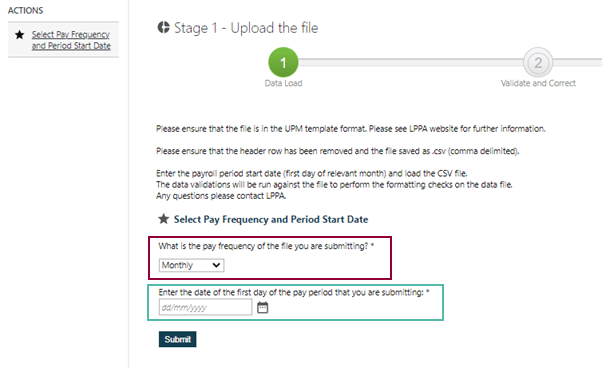
1 Click Select Pay Frequency and Period Start Date and then enter the relevant pay frequency and the start date of the period and click Submit.
2 In the Actions section, click on the Click here to upload data file box and press Add File(s). Add your returns file from your computer and press Submit. The size of the file may affect the time it takes to process the file (up to 10 minutes). Once validations are complete, you will receive a notification in your Workfeed, accessible from the homepage.
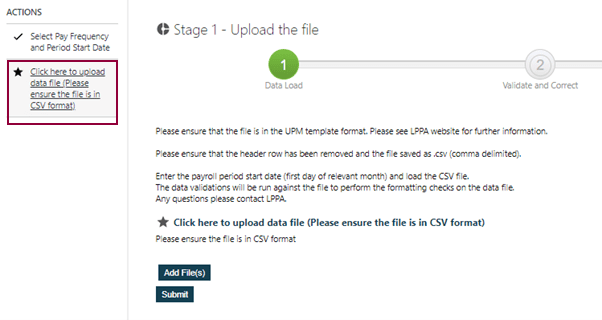
3 Click on your Workfeed tile and then open the item (your data return file) to see whether the file has passed or failed the validation checks.

4 If there is an error you will receive one of two error messages:
a. For the File Upload Failed error, please check that the file against the specification document to ensure that each field matches the required format. We have listed the most common examples on the error message.

b. For the Employer Access Error, please check to ensure that the employer codes are correct – this must include the leading zeroes where applicable – and that you have access to all the employers within the file. You can check those that you have access to from your Work Feed – they will be listed in the left hand bar.

For both errors, please click on Rollback Data Import

Then click Click here to roll back the data and then Back to Stage 1

You can now start the process of uploading your file again.
1 Any issues with the data will be displayed under Error Messages (below).
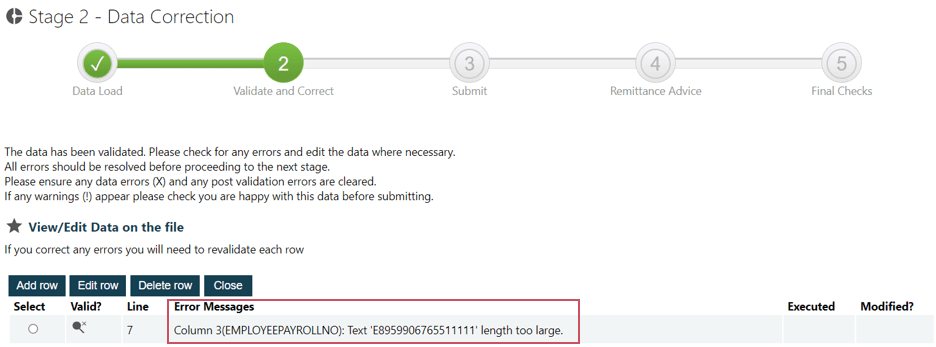
If you have a significant number of errors, continue from point 2. If you have a small number of errors, continue from point 3.
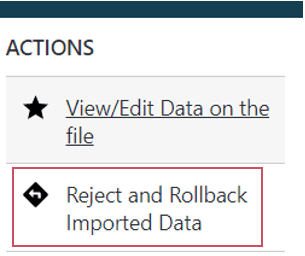
2 You can download a report that lists any errors you’ll need to correct before submitting your monthly data return. The errors report can be downloaded at stage 2, under SSRS reports, from the dashboard. Once you have downloaded your report, you can also reject and roll back the data to take you back to the start of the process. To do this:
a. Select Reject and Rollback Imported Data from the Actions section on the left-hand side of your screen.
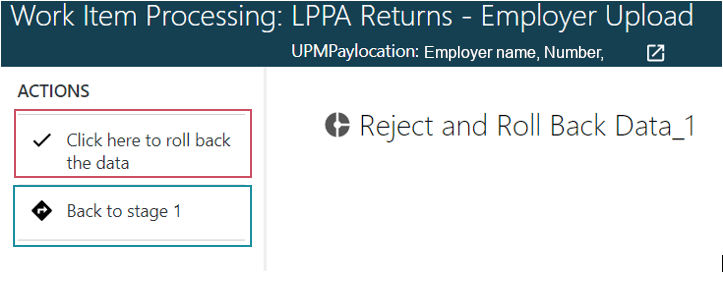
b. First, click on Click here to roll back the data, then click Back to stage 1. This will take you back to the beginning of the process (Uploading your file: point 1). Remember, you must re-save your document in csv format before uploading it again.
3 If you only have a small number of errors, amend them by clicking Edit Row on each line item. As you correct each error, scroll to the bottom and click Save & Validate.
Top tip
If you have any errors, please refer to the specification document
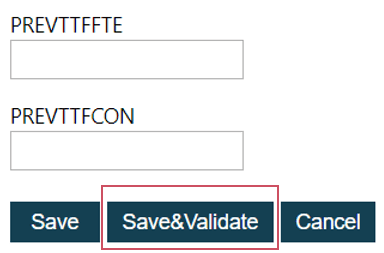
4 Repeat the above for all lines of data with errors. Once you have resolved all the errors, you’ll be able to submit the file. Press Close.
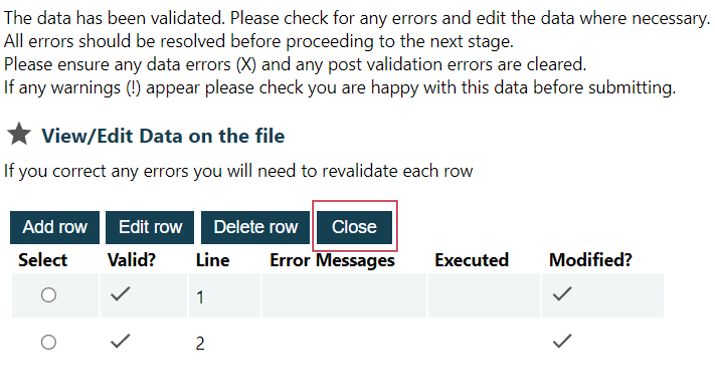
5 Click Next in the Actions section.
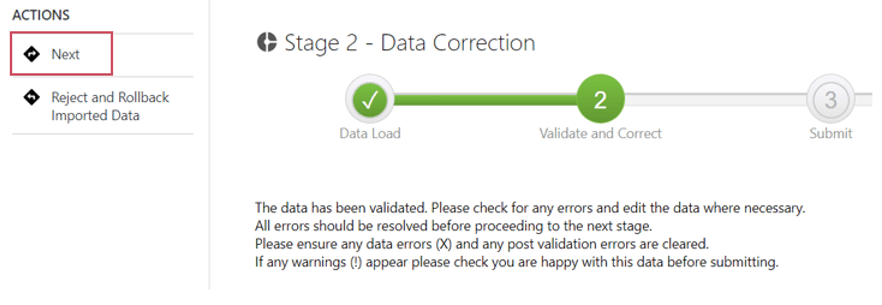
1 Ensure there are no errors and press press Close.
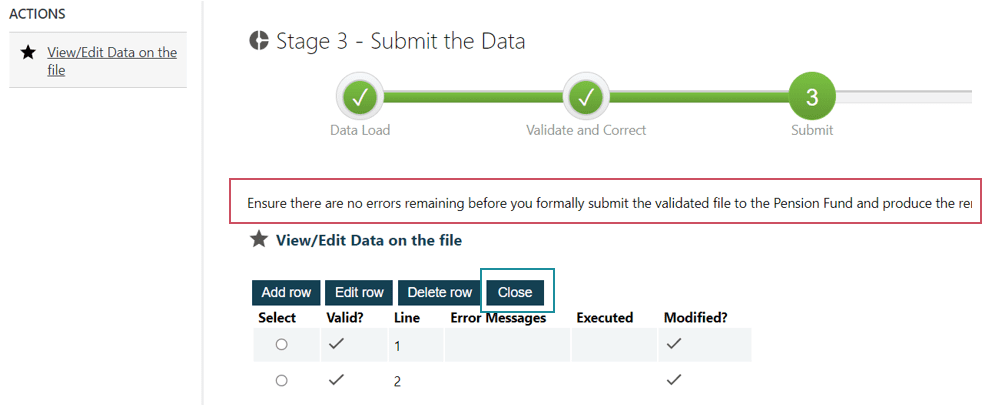
2 Click Submit the Data in the Actions section.

3 Click Next.

1 Click Save and Validate the Remittance Advice in the Actions section.

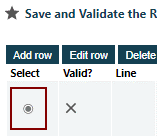
2 Select the row and then Edit Row. If you have multiple rows to validate, you will need to do these individually.
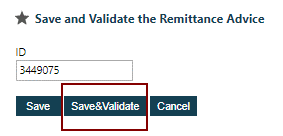
3 Select Save&Validate
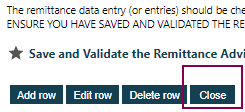
5 Press Close
6 From the Actions list, select Have you Saved and Validated the Remittance Advice.

7 Select Yes and click Submit.

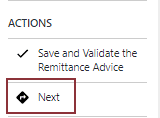
8 From the Actions click Next.
9 And then View Remittance Advice.

10 Select Close.

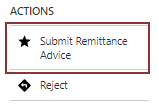
1 From the Actions select Submit Remittance Advice
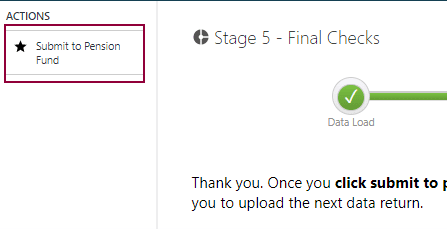
2 Click Submit to Pension Fund. Your return will be submitted to LPPA and you will be taken back to your Workfeed.
LPPA will now process your file. You will receive an automated confirmation once the file has been processed by LPPA.